

You've checked the forecast—air temp 38°F, water temp 42°F—and your buddies are staying home. But the stripers are staging near the inlet, and you know they're biting. The difference between watching from shore and actually fishing often comes down to one piece of gear: a properly fitted drysuit. Yet standing in your garage staring at what looks like a rubber straightjacket, you might wonder if you're about to wrestle an octopus or go fishing.
Drysuit kayak fishing opens months of opportunities that most anglers miss, but only if you know how to use the suit correctly. A poorly layered or improperly sealed drysuit can leave you colder than if you'd worn a wetsuit, and struggling to get in and out of one solo has left more than one angler tangled on their back like an upended turtle. This guide walks through everything from choosing base layers to emergency gasket repairs on the water, so you can fish comfortably when the water temperature drops below 60°F.
Understanding When You Actually Need a Drysuit
The "120-degree rule" provides a starting point: if air temperature plus water temperature equals less than 120°F, consider immersion protection. At 50°F water and 40°F air (90°F total), you're in cold shock territory if you capsize. Water conducts heat 25 times faster than air, so that 50-degree water will incapacitate you in minutes, regardless of how balmy the sunshine feels on your face.
Drysuits keep a sealed air layer between your skin and the water. Unlike wetsuits that allow water in and warm it against your body, drysuits keep you completely dry—assuming your gaskets are sealed and your zippers closed. This means you control your temperature entirely through layering underneath, giving you far more flexibility across changing conditions during a full day on the water.
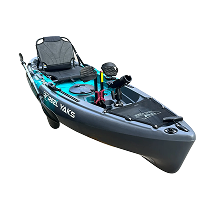
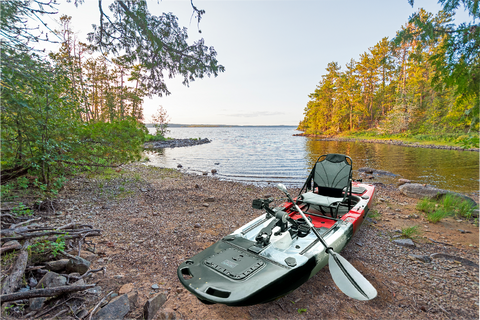
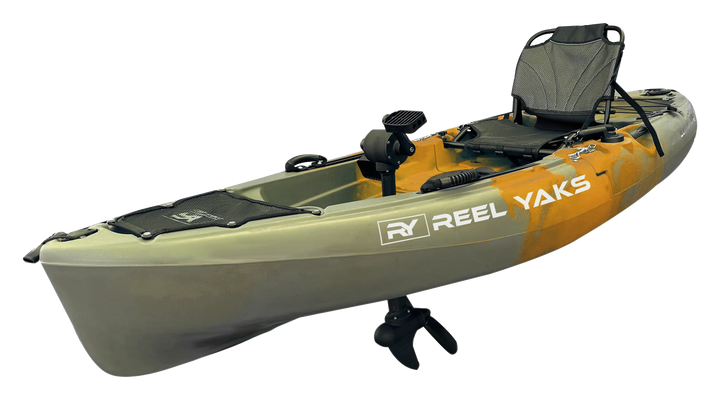
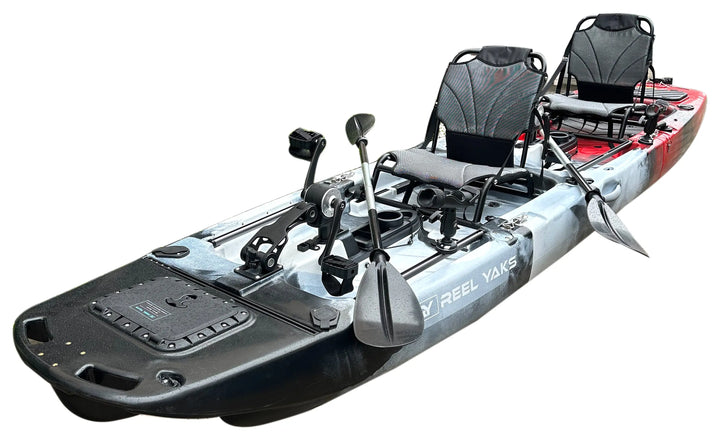
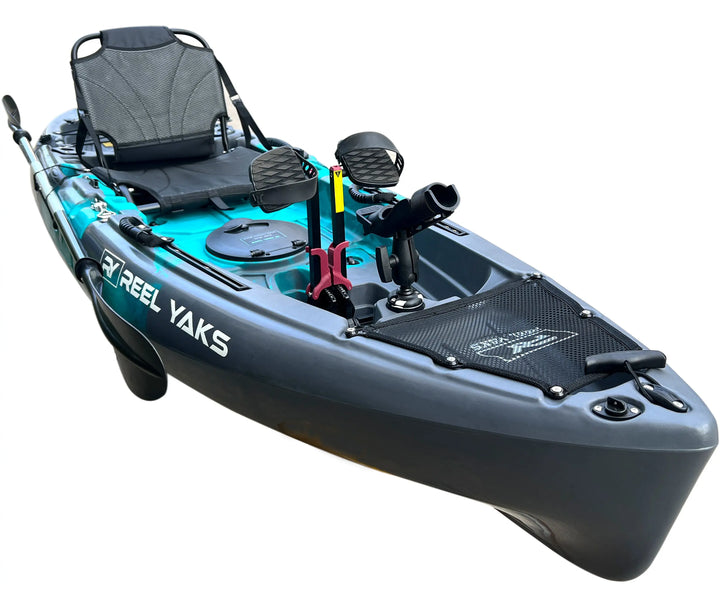
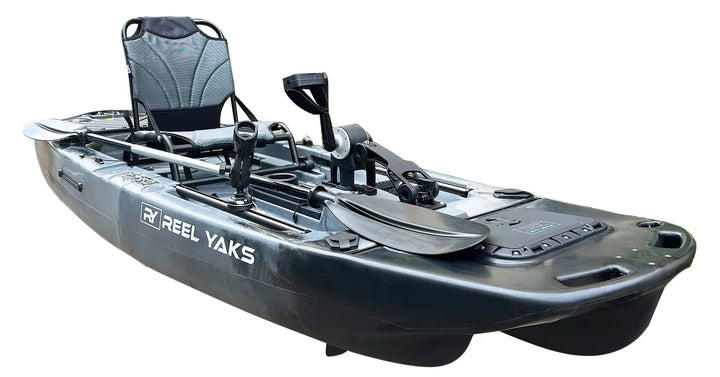
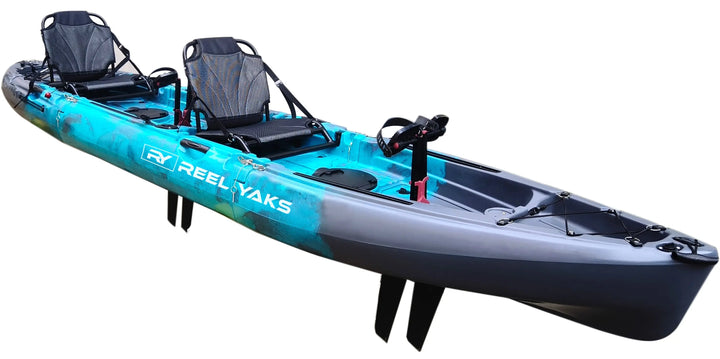
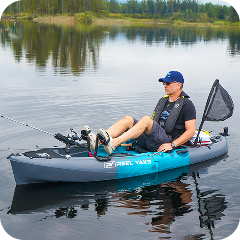
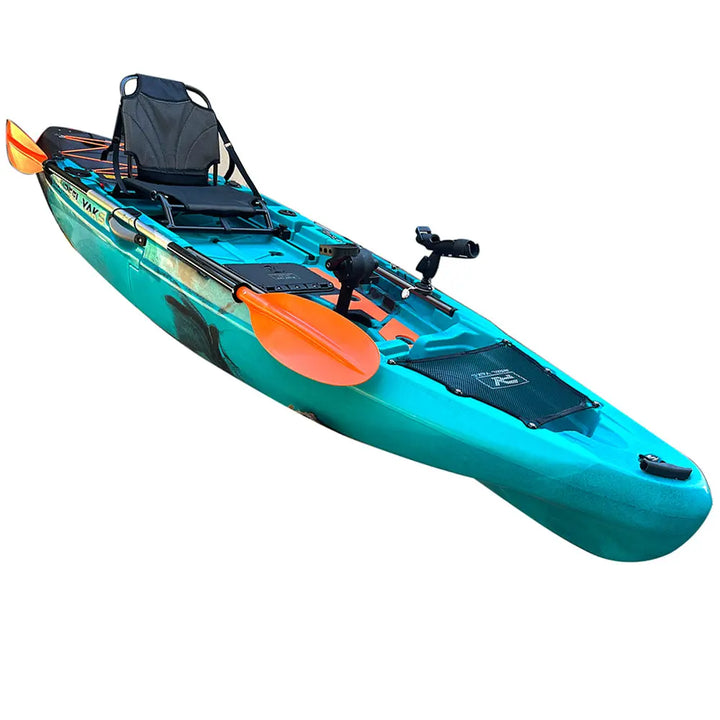
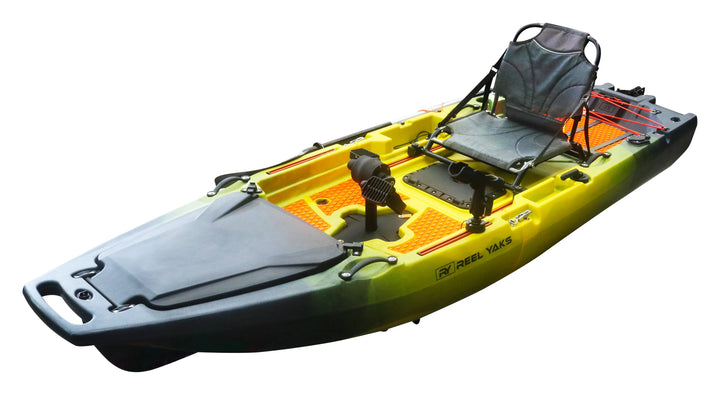
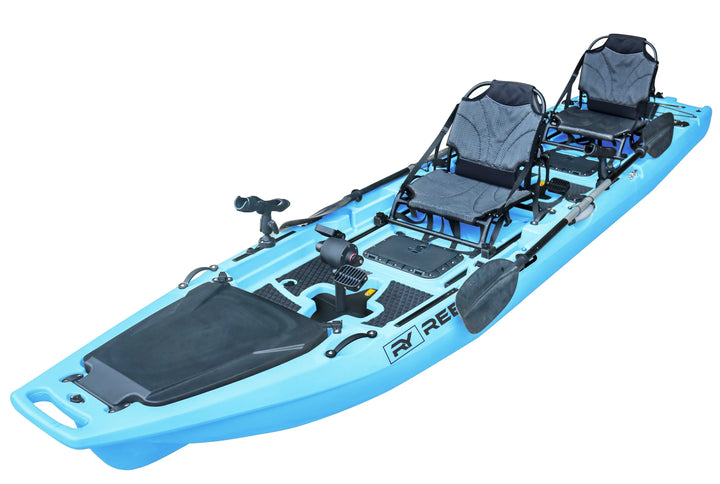
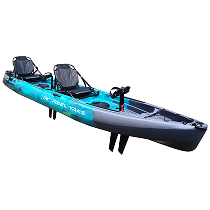
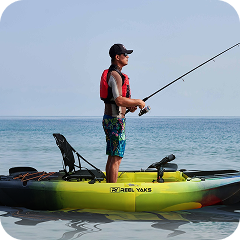
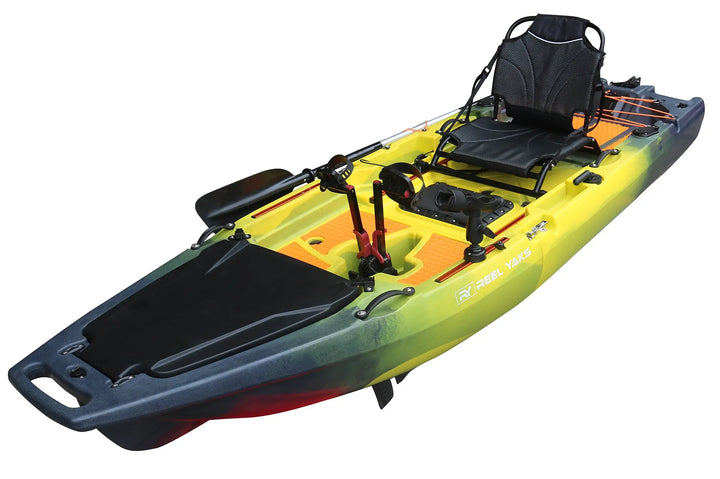
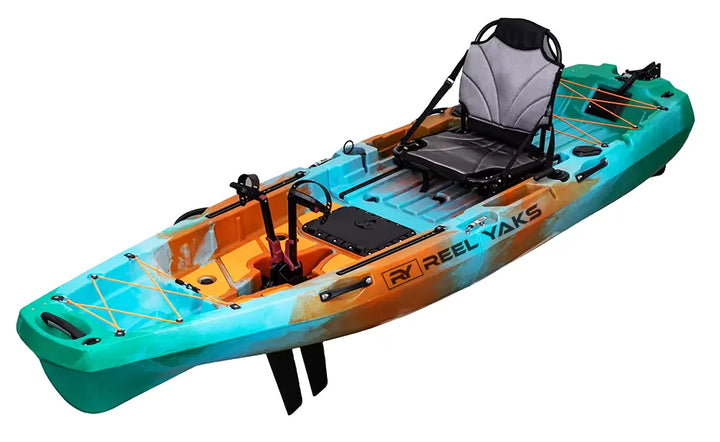
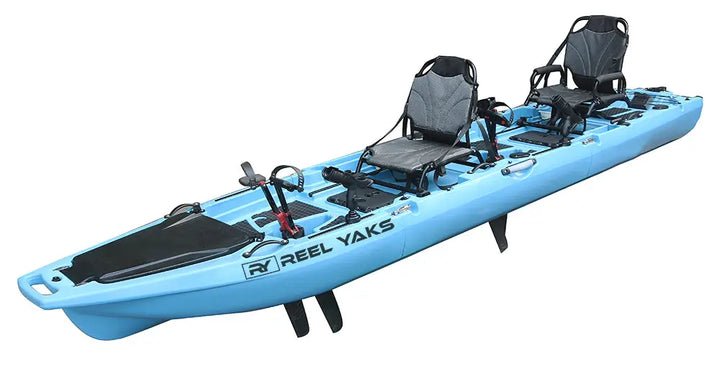
For kayak anglers specifically, drysuits offer a huge advantage: you stay dry from splash, spray, and the inevitable water that pools in the cockpit. Whether you're fishing from a sit-inside or sit-on-top like the models in the Reel Yaks lineup, staying dry means staying warm through hours of relatively motionless fishing.
Choosing the Right Base and Mid Layers
Your drysuit is just a shell. The layers underneath do all the thermal work, and this is where most beginners get it wrong. Cotton kills in cold water situations—it absorbs moisture from sweat, loses all insulating value when wet, and will leave you hypothermic even inside a sealed drysuit. Skip it entirely, including cotton socks.
Start with a synthetic or merino wool base layer. Merino offers superior odor resistance for multi-day trips, while synthetics like polyester dry faster and cost less. In moderately cold conditions (water temps 45-55°F), a midweight base layer alone may suffice. As temperatures drop, add a fleece or synthetic insulation mid-layer. The key is maintaining enough loft to trap warm air without compressing so much that you restrict movement or stress your gaskets.
For your feet, wear thick wool or synthetic socks—many drysuit users double up with a thin liner sock and a heavy outer sock. Your feet will be in integrated boots (or socks if you have a sock-style drysuit), and they're the first thing to get cold since they're immersed in any water that enters your kayak. Some anglers add neoprene socks over their drysuit booties for added insulation when air temperatures drop below freezing.
Here's a sample layering system for different water temperatures:
- 55-60°F water: Lightweight synthetic base layer, synthetic socks
- 45-55°F water: Midweight merino or synthetic base layer, wool socks, thin fleece if stationary fishing
- 35-45°F water: Midweight base layer, 200-weight fleece mid-layer, heavy wool socks, windproof outer layer on torso if desired
- Below 35°F water: Expedition-weight base layer, insulated mid-layer, vapor barrier liner (VBL) in boots, windproof layers
Remember that you'll generate heat while paddling but cool down quickly while fishing. It's better to start slightly cool and warm up through activity than to start sweating, which will make you cold later.
Gasket Inspection and Maintenance
Latex gaskets at your neck, wrists, and ankles (if you have a sock-style suit) are your drysuit's critical seals. They're also the most fragile components and the most common failure points. Before every outing, inspect each gasket carefully for small tears, thin spots, or perished rubber. Hold each gasket up to bright light—any light shining through indicates a weak spot that may fail.
Latex degrades from UV exposure, ozone, body oils, sunscreen, and DEET insect repellent. After each use, rinse gaskets thoroughly with fresh water and allow them to dry completely away from direct sunlight. Some paddlers apply 303 Aerospace Protectant to gaskets, which provides UV protection and keeps latex supple. Never use petroleum-based products, which will destroy latex.
Gaskets should feel smooth and elastic, not sticky or brittle. If a gasket has become stiff or tacky, it's reached the end of its life and needs replacement before your next trip. Most manufacturers sell replacement gasket kits, and many paddle shops offer gasket replacement services. Learning to replace gaskets yourself costs $15-30 in materials versus $75-150 for professional replacement.
Keep your neck gasket appropriately sized. It should feel snug but not strangling—you should be able to slip two fingers under it when sealed. Too tight and you'll be miserable all day with a headache and restricted breathing. Too loose and water will seep in with every wave. Some drysuits come with oversized gaskets that you trim to fit. Take your time with this—you can always trim more, but you can't add material back.
The Solo Entry Technique
Getting into a drysuit alone, especially one with a rear entry zipper, feels like advanced yoga the first few times. But with practice, you can be suited up in two minutes. Here's the sequence that works:
First, ensure your zipper is fully open and your gaskets are rolled outward to their maximum diameter. Sit down—standing entries lead to off-balance stumbles and torn gaskets. Put your legs in first, working the suit up to your waist. With integrated booties, point your toes and push straight through rather than trying to force your heel in sideways.
Stand up and work your arms into the sleeves one at a time. Here's the critical technique: scrunch the sleeve accordion-style over your arm before inserting your hand, then push your hand through the gasket in one firm motion while keeping your fingers together in a diving position. Fighting the gasket with spread fingers is how tears happen. Once your hand is through, work the sleeve material up your arm.
For rear-entry zippers, you'll need a friend or a creative approach. Many paddlers attach a cord to the zipper pull and route it over their shoulder, allowing them to pull it closed from the front. Front-entry zippers are far easier for solo operation but typically cost more. Alternatively, keep a large carabiner or short dowel attached to your zipper pull for better leverage.
Once zipped, fold down and seal your neck gasket. The technique: create a wide circle with both hands inside the gasket, duck your head through, then work the gasket down and around your neck from back to front. Never pull the gasket over your head like a turtleneck—this stretches it unevenly and shortens its life.
Fit Check Before You Launch
Before you carry your kayak to the water, do a complete fit check. Reach full extension with your paddle stroke—can you move freely without the suit binding? Squat down as if landing a fish—does the suit pull uncomfortably at your shoulders or crotch? These movements verify that your suit fits properly and your layers aren't too bulky.
Check each gasket seal by looking down (neck) or examining visually (wrists). The gasket should sit flat against your skin with no gaps or folds. A single fold in a neck gasket will channel water directly down your back with every splash.
Many drysuits include relief zippers for bathroom breaks. Verify that yours is fully closed—this is easy to forget and embarrassing to discover later. If your suit has suspenders or an internal waistband, adjust them now so the suit hangs comfortably with arms at rest.
In-the-Kayak Adjustments
Once you're in your kayak, you may find that air has trapped in your drysuit legs, making you feel like the Michelin Man. This excess air affects your balance and makes you top-heavy. Many drysuits include relief valves on the chest or arms—open these briefly and press down on your legs to burp out excess air. Alternatively, briefly unseal one wrist gasket to release air, then reseal it carefully.
Some air retention is actually beneficial. That trapped air adds insulation and provides a small amount of additional flotation. The goal is to eliminate excess air that affects your stability, not to vacuum-seal the suit against your body.
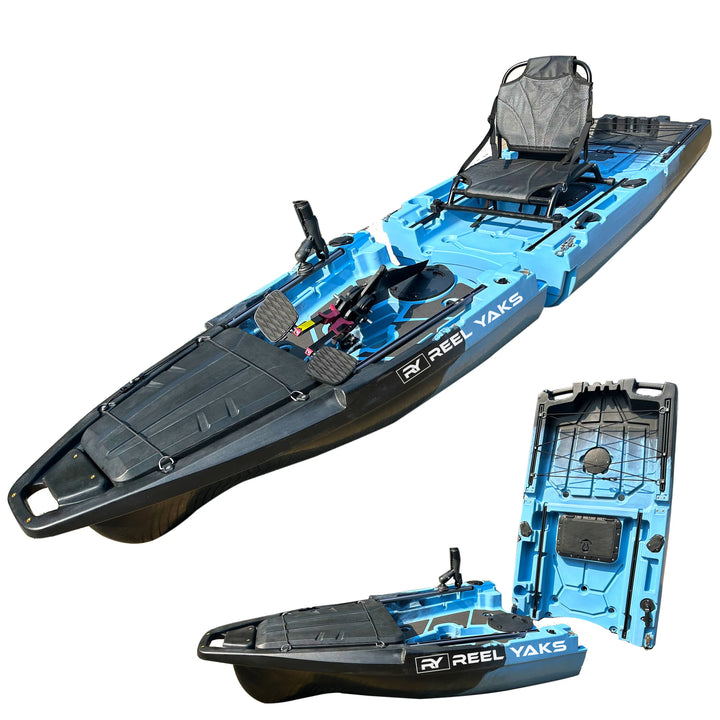
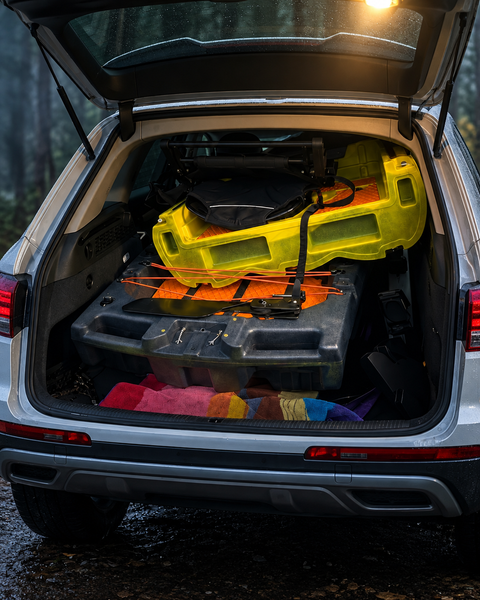
In a modular kayak like the Reel Yaks models that fit easily in your vehicle, you're likely launching from more remote locations than paddlers hauling 12-foot rigid boats. This means you might be further from help if something goes wrong, making proper drysuit use even more critical. The stable W-hull design that allows standing casts in calm conditions becomes even more valuable when you're wearing the slight bulk of a drysuit and layers.
Emergency Repair Kit Essentials
Latex gaskets and waterproof zippers can fail mid-trip. Your vehicle should always contain a repair kit with these items:
- Aquaseal or similar urethane repair adhesive: Can patch small gasket tears or seal pulled seams
- Duct tape: Temporary gasket reinforcement and general field repairs
- Spare latex wrist gasket: Pre-cut and ready to install if you learn the field replacement technique
- Zipper lubricant/wax: Prevents and fixes sticky waterproof zippers
- Plastic zipper slider (if compatible): Zipper sliders fail more often than the zipper teeth
- Neoprene cement: For bootie repairs
- Scissors and lighter: For trimming repairs and sealing cut edges
Learn basic field repairs before you need them. A small gasket tear can be temporarily sealed with a patch of duct tape on both sides, smoothed carefully to avoid leaks. This won't hold forever, but it can salvage a trip. For zipper problems, cleaning and lubricating the teeth solves most issues. If your zipper separates behind the slider, you've likely got a worn slider that needs replacement—this is a shoreline repair with the right parts, or a trip-ending failure without them.
Post-Trip Care That Extends Suit Life
Proper care after your trip matters as much as proper use during it. Rinse your drysuit thoroughly inside and out with fresh water, paying special attention to the zipper (open and close it several times while rinsing) and gaskets. Hang it inside-out in a cool, dark location with good airflow. Garages and basements work well; hot attics or direct sunlight will degrade latex rapidly.
Before storage, ensure the suit is completely dry inside. Any trapped moisture can promote mildew or material degradation. Some paddlers use a fan to speed interior drying. Once dry, store the suit loosely folded or hanging on a wide hanger—never cram it into a small stuff sack, which stresses seams and gaskets.
Apply zipper lubricant before long-term storage. This prevents the zipper from bonding to itself, which can cause separation or tooth damage when you open it months later. Many paddlers also lightly dust stored latex gaskets with pure talcum powder (not talc with cornstarch, which can promote mildew) to prevent sticking.
The Safety Factor
A drysuit gives you time if you capsize in cold water—time to self-rescue, time to reach shore, time for help to arrive. But it's not a magic shield. You still need to understand cold water immersion risks, practice re-entry techniques, and paddle with appropriate caution. The seal at your neck means you need to be more careful about entrapment hazards; if your suit fills with water while you're stuck, the added weight can make escape much harder.
Always paddle with others in cold conditions when possible, and always file a float plan with someone onshore. Carry a waterproof VHF radio or cell phone, whistle, and signaling device. Your drysuit gives you a fighting chance in cold water, but prevention beats treatment every time.
For kayak anglers in particular, consider how you'll handle a large fish while wearing wrist gaskets. Some paddlers prefer to keep their gaskets slightly loose for better dexterity, accepting minor seepage as a tradeoff for being able to handle fishing line and pliers effectively. Others wear thin gloves over sealed gaskets. Find the balance that works for your fishing style.
When Drysuits Beat Other Options
Compared to wetsuits, drysuits offer better warmth in very cold water, no wet entry shock, and the ability to adjust insulation by changing layers. The downsides are higher cost ($400-1200 versus $100-300 for a wetsuit), more maintenance requirements, and bulkier mobility. For serious cold-weather kayak fishing, though, drysuits win decisively. You'll stay comfortable through hours of stationary fishing that would leave you hypothermic in a wetsuit.
Compared to just dressing warm in waterproof layers, drysuits provide immersion protection that jackets and bibs cannot match. You might feel fine while staying dry, but the moment you capsize in 40-degree water wearing breathable rain gear, you have minutes before losing motor control. The drysuit is your insurance policy against that scenario.
With proper layering, maintenance, and use technique, a quality drysuit will provide 5-10 years of cold-weather fishing opportunities. That extends your season by months on both ends, accessing fishing when competition is minimal and fish are feeding aggressively before and after the crowds arrive. The water doesn't freeze just because other anglers stop launching—it just requires the right gear and knowledge to fish it safely and comfortably.
Fish More. Haul Less. No Roof Rack Required.
Reel Yaks modular pedal fishing kayaks break into 2–3 compact sections that fit in your car boot, store in your apartment, and assemble in 5 minutes — no roof rack, no garage, no heavy lifting. Browse all Reel Yaks modular fishing kayaks →