




You just finished a productive morning chasing stripers in 35°F air temps. The salt spray dried on your hull before you even got back to the truck. Now you're staring at your kayak in the driveway, knowing that saltwater needs to come off today, but your garden hose is basically shooting liquid ice and your fingers already feel like they're about to fall off.
Cold-weather saltwater rinsing is one of those tasks that separates the fair-weather paddlers from the year-round anglers. Skip it, and you're looking at corroded hardware, sticky drive mechanisms, and crud buildup in section seams that'll haunt you come spring. But the traditional "spray everything down for 10 minutes" approach becomes genuinely miserable when the thermometer drops below 40°F.
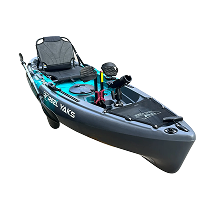
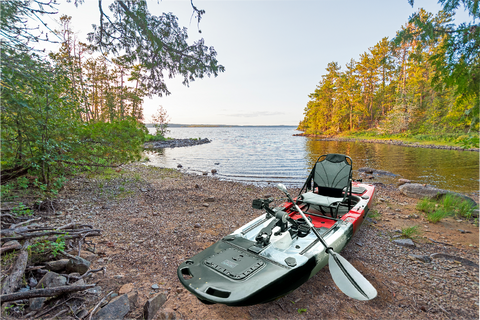
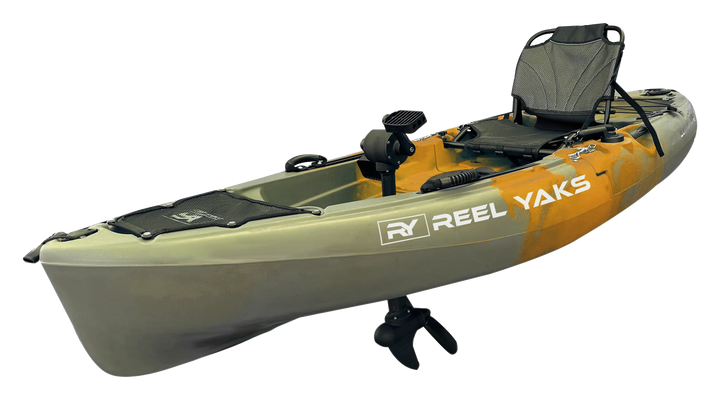
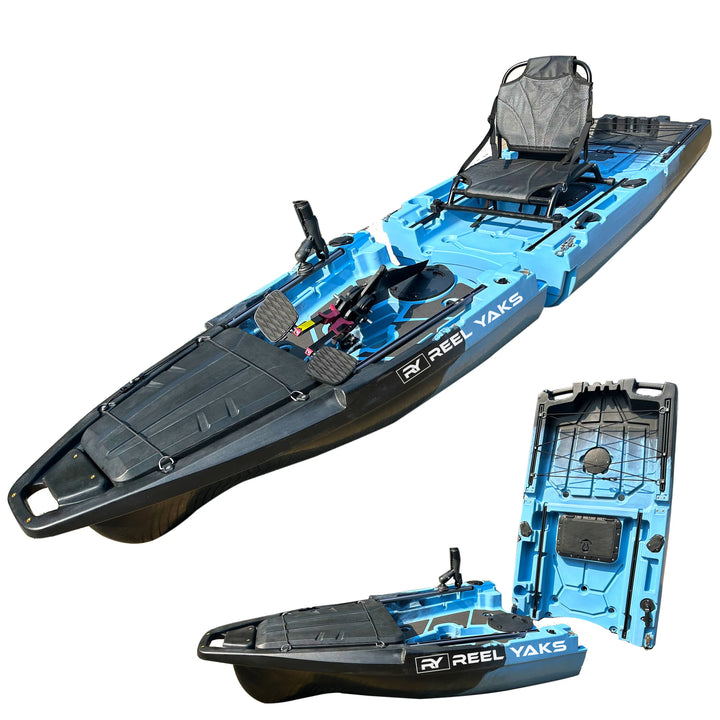
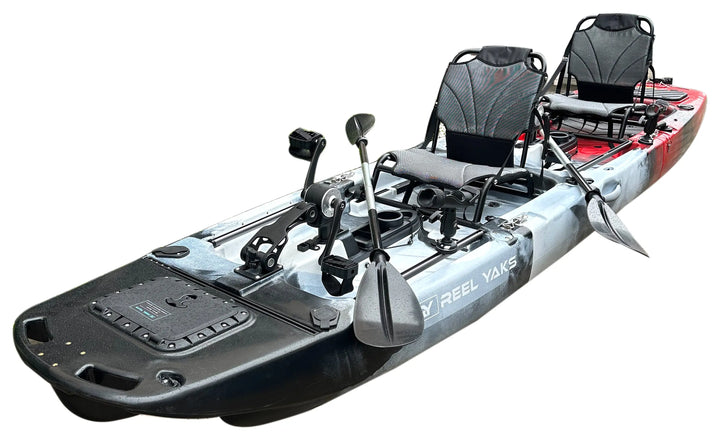
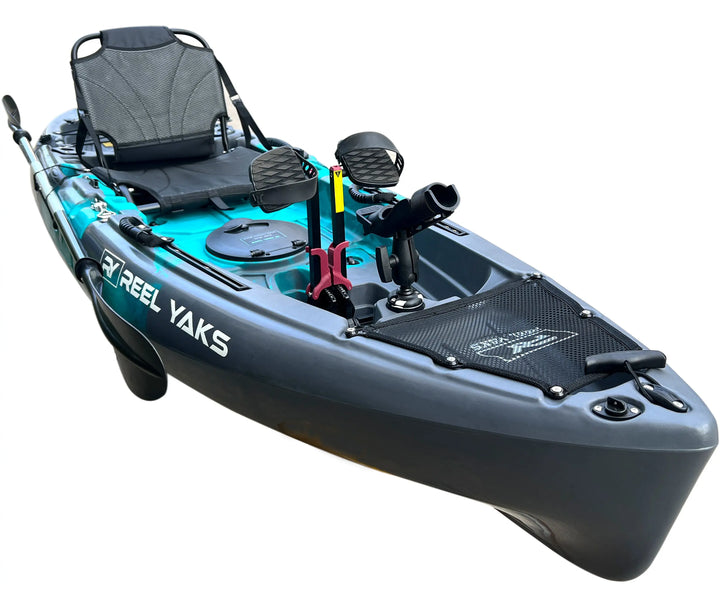
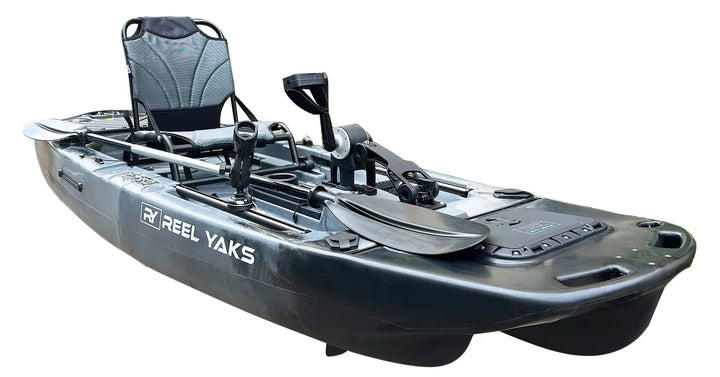
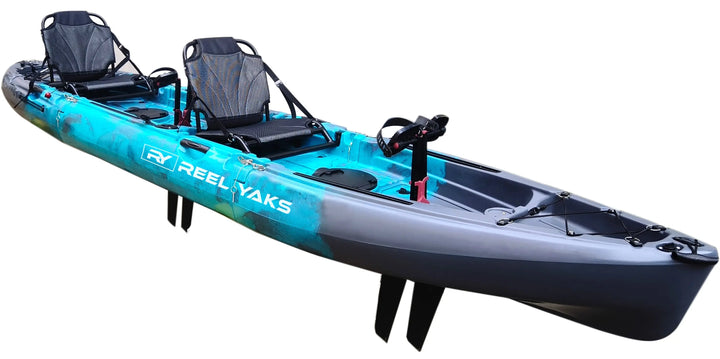
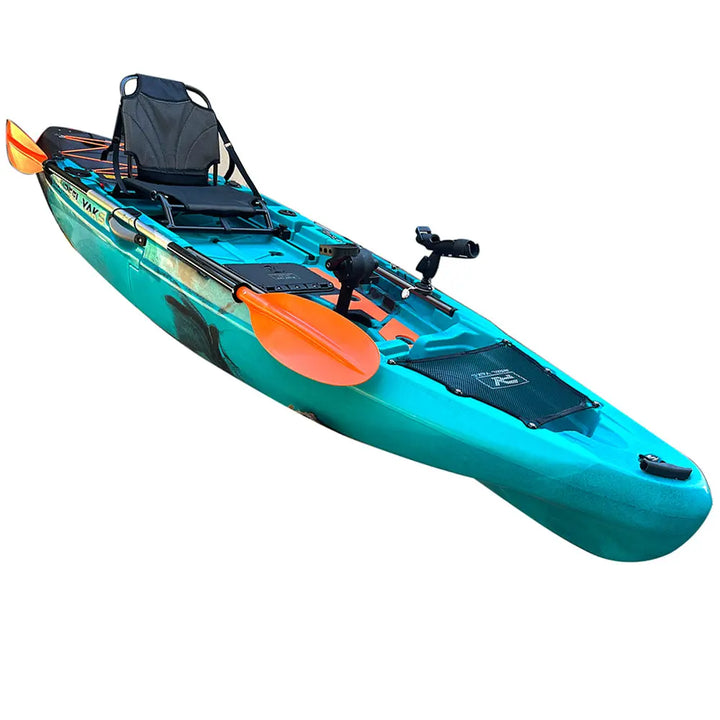
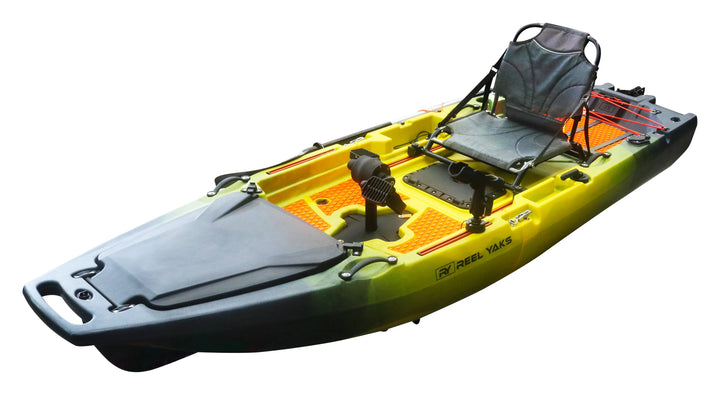
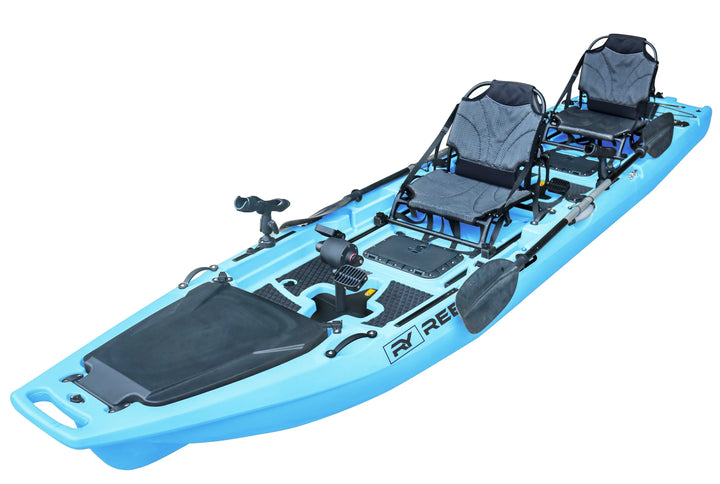
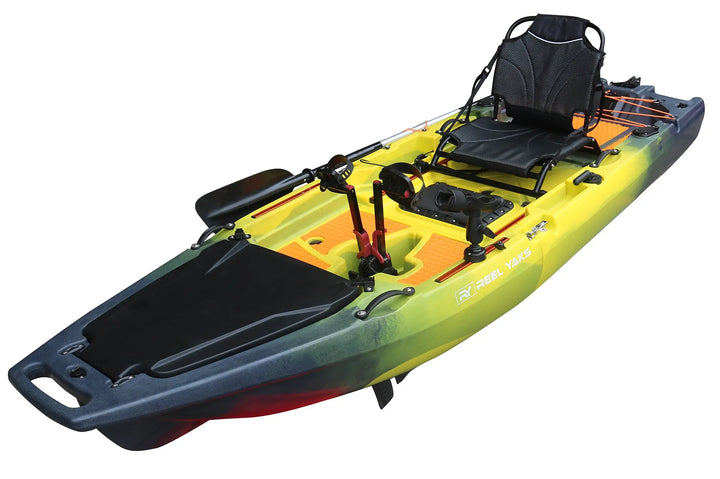
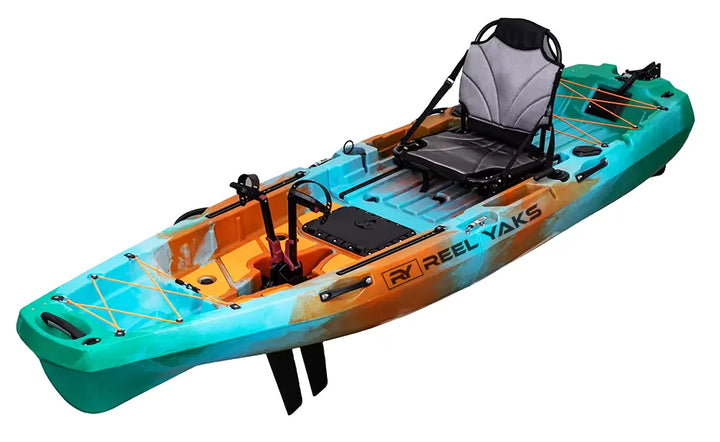
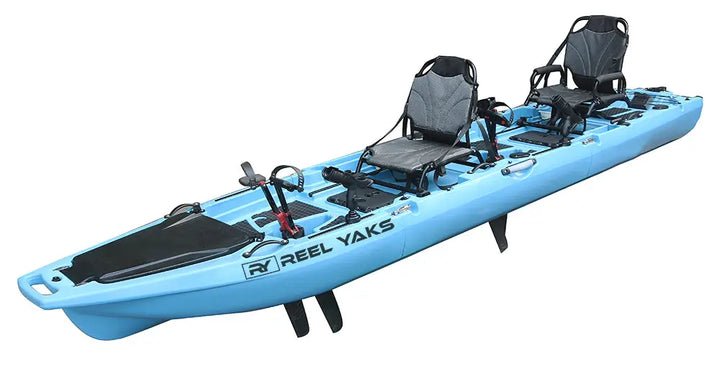
The good news: modular kayaks like the Recon 10ft or Raptor 9.5ft actually give you a massive advantage in freezing conditions. You can break down sections and bring critical components inside where it's warm. Here's the winter rinse routine that keeps your kayak clean without turning your fingers into icicles.
The Strategic Warm-Water Setup
Forget the outdoor spigot when temps drop below 40°F. That water comes out cold enough to hurt, and within minutes you'll lose feeling in your hands. The smarter play is a two-bucket system in your garage or basement, using hot tap water that you can actually tolerate touching.
Fill one 5-gallon bucket with the hottest water your tap produces. Fill a second bucket about halfway with the same hot water. Add a few drops of mild dish soap to the first bucket—just enough to cut through salt film, not enough to create a bubble party. Keep a garden sprayer or pump sprayer filled with warm water on standby for reaching into tight spots.
This indoor setup lets you work in sections without rushing, without numb fingers, and without tracking freezing water all over your driveway. If you've got a utility sink in the garage, even better. The goal is controlled warmth, not fighting the elements while trying to maintain your kayak.
Section-by-Section Breakdown Strategy
This is where modular design becomes your best friend in winter. Instead of wrestling with a 10-foot rigid kayak in freezing conditions, you're dealing with manageable 27-51 pound sections that fit through a standard doorway.
Start by disconnecting your sections while still outside. Wipe down the coupling points with a damp rag to remove any obvious salt crust or sand. Don't lock them back together wet in cold weather—moisture in those seams can freeze overnight and make spring separation a nightmare.
Bring one section inside at a time. The Radar 10ft breaks into two sections, so you're looking at two trips. Lay down an old tarp or drop cloth in your garage or mudroom. Work through each section methodically with your warm water and sponge, paying special attention to hardware, rod holder threads, and anywhere salt spray would have concentrated during your paddle.
For the drive mechanism—whether fin or prop—pull it out completely and rinse it in your utility sink or bathtub. Warm water dissolves salt crystals far more effectively than cold, and you can actually see what you're cleaning when your hands aren't shaking. Pedal through the drive mechanism while rinsing to flush salt from the internal gearing. This five-minute indoor rinse does more good than 20 minutes fighting with a frozen garden hose.
The Section Seam Problem (And Solution)
Here's what catches people: the coupling points between sections trap moisture and salt in a way that solid kayaks never deal with. In warm weather, this dries harmlessly. In freezing temps, that trapped moisture expands as ice and can stress the connection hardware or leave you with frozen-together sections come morning.
After you've rinsed each section, focus specifically on the coupling area. Use a clean rag to dry the inside of the female receiver and the outside of the male connector. If you've got an air compressor, a quick blast of air into these coupling channels will push out any remaining water. No compressor? A can of compressed air (the kind you use for cleaning electronics) works almost as well.
Some Reel Yaks owners keep a small spray bottle of WD-40 or marine-grade corrosion inhibitor for these coupling points after a saltwater session. A light mist after drying prevents any residual moisture from causing issues and lubricates the connection for easier assembly next trip. Just wipe off any excess before you store the sections.
Store your sections separately in a heated space if possible, at least for the first night after a salt session. This prevents any overlooked moisture from freezing in seams. Stack them on their side rather than nesting them together—air circulation is your friend.
Hardware and Electronics in Freezing Temps
Rod holders, track-mount accessories, transducer brackets—anything metal that touched salt spray needs attention, and cold weather makes this more critical, not less. Salt and freezing temperatures create an aggressive corrosion environment that'll eat through cheap hardware in a single season.
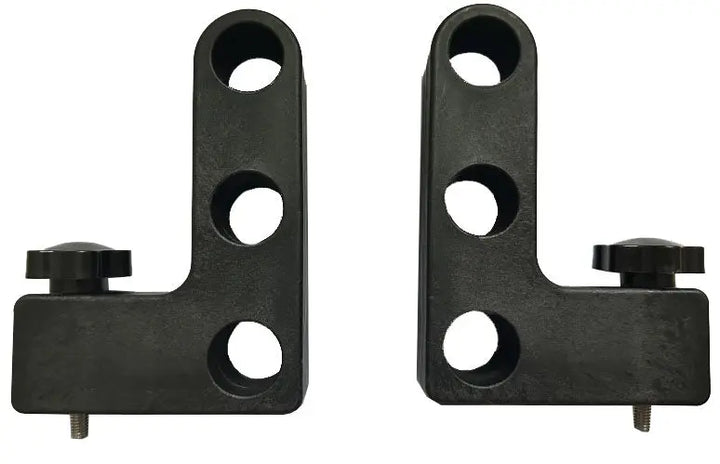
Remove any track-mounted accessories while you're still outside. Bring them in with your sections. Drop small hardware into your warm soapy water bucket and let it soak while you work on the hull. For electronics like fish finders on the Recon 10ft, remove the transducer and display head completely. Rinse connections with fresh water from your sprayer, then dry thoroughly with a towel.
Pay special attention to stainless steel screws and bolts. "Stainless" doesn't mean "impervious to salt," especially when you add freezing temps to the equation. After rinsing, dry each bolt head and spray with a corrosion inhibitor. This 30-second step per bolt will save you from stuck hardware and snapped screws down the road.
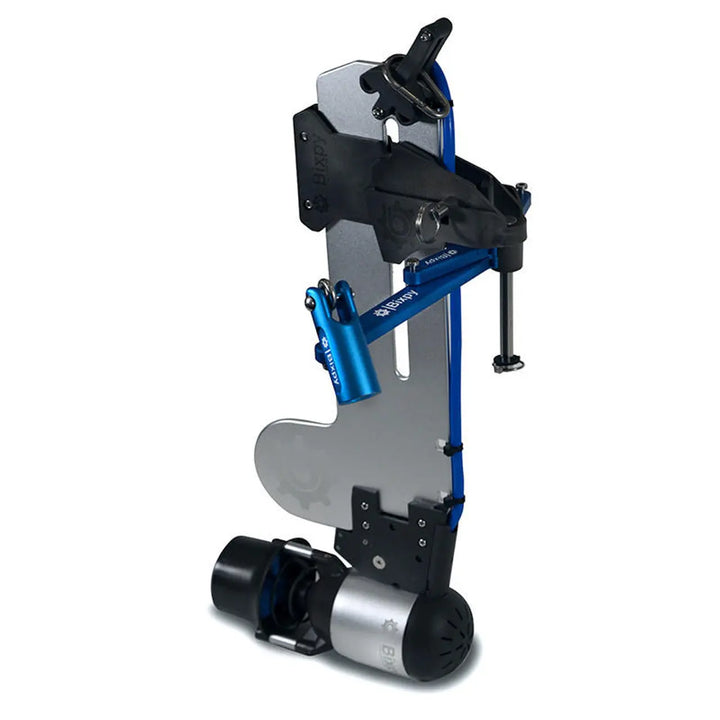
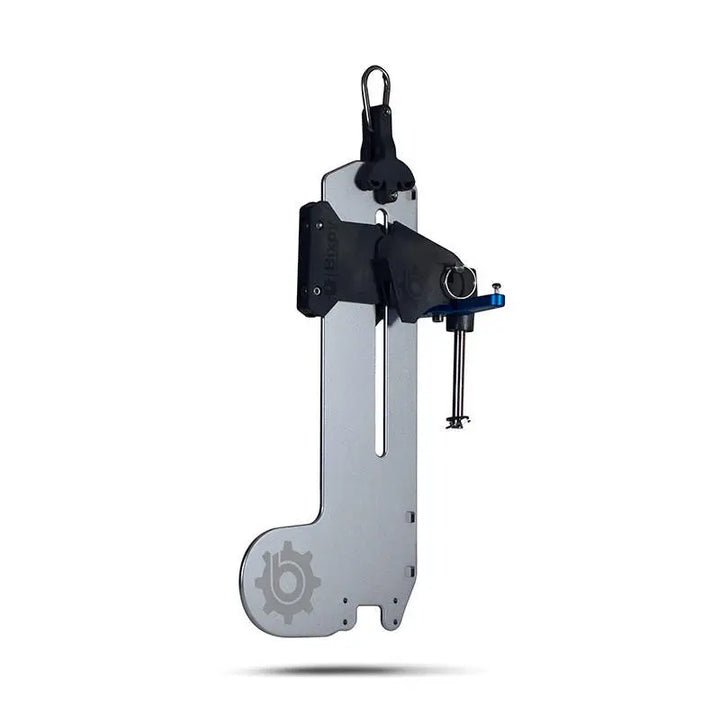
Battery terminals on electronic motor setups need the same treatment. If you're running a Bixpy motor, disconnect the battery as soon as you're off the water and bring it inside immediately. Lithium batteries and freezing temps don't mix—you'll lose capacity and potentially damage cells. Rinse any exposed terminals with fresh water and dry completely before storing.
The Drysuit-Friendly Workflow
If you're serious enough about winter paddling to own a drysuit, you've already made the commitment to cold-weather fishing. But even drysuit anglers don't want to spend 30 minutes getting soaked during the rinse routine.
Keep your drysuit on during the initial breakdown and wipe-down outside. The waterproof protection lets you do a quick spray of the exterior hull without worrying about getting wet. Use your garden hose for a 60-second rinse of obvious salt—just enough to knock off the crusty deposits. You're not trying for perfection here; you're preventing the worst of the salt from drying while you transition indoors.
Then bring the sections inside for the detailed warm-water cleanup. Now you can peel out of the drysuit in a heated space and do the thorough rinse in comfort. This two-stage approach—rough exterior rinse in drysuit, detailed indoor rinse in regular clothes—gives you the best of both worlds.
Hang your drysuit to dry in the same warm space where you're working on the kayak. Cold, damp drysuits stored in freezing garages develop funky smells and can degrade gasket materials faster. Plus, having it dry and ready means no excuses when the next cold front brings a hot late-season bite.
Dealing With Actual Freezing (Under 32°F)
When the thermometer drops below freezing, the rules change slightly. You cannot leave water on your kayak outdoors, period. Even a thin film will freeze and potentially damage gel coat, stress connection points, or create ice buildup in scupper holes.
At these temperatures, skip any outdoor rinsing entirely. Break down your sections immediately and get them into heated space. If your garage isn't heated, bring the sections into your basement or even your living room—a tarp protects your floors, and 20 minutes of kayak sections in your house beats months of corrosion damage.
Use your warm-water bucket system exclusively. After the soapy wash, do a clear-water rinse, then immediately dry each section with towels. Don't just wipe it down—actually dry it. Use old bath towels or microfiber cloths to remove standing water from every surface, including inside the hull if you've got scupper holes.
For drive mechanisms, consider leaving them disconnected overnight. The pedal drives can sit indoors in your utility sink or even bathtub overnight, fully dry, and you'll reinstall them before your next trip. This prevents any moisture in the drive mechanism from freezing and potentially cracking plastic housing.
The Quick-Hit Routine for Repeat Winter Anglers
Once you dial in your cold-weather rinse system, the whole process takes about 15 minutes—not much longer than a summer rinse, but way more comfortable. Here's the streamlined routine that year-round saltwater anglers use:
Minute 1-2: Break down sections at the truck. Wipe coupling points with damp rag. Load sections into vehicle.
Minute 3-5: Pull into garage. Set up tarp and warm water buckets. Remove drive mechanism and all electronics.
Minute 6-10: Wash first section with warm soapy water. Rinse with clear warm water. Dry coupling areas. Set aside.
Minute 11-15: Repeat with second section. Meanwhile, drive mechanism soaks in warm water bucket.
Minute 16-18: Rinse drive mechanism under warm tap water while pedaling to flush internal components. Dry and set aside.
Minute 19-20: Quick wipe-down of any accessories or electronics. Spray hardware with corrosion inhibitor.
Store everything separated until your next trip, then reassemble. The modular design means you can keep sections in a heated basement or garage corner without monopolizing the entire space the way a 14-foot rigid kayak would.
What You Can Skip (And What You Can't)
Not every winter trip requires the full treatment. If you've been paddling freshwater in cold weather, you can get away with a simple wipe-down and drying of the coupling points. No soap, no intensive scrubbing—just make sure no standing water will freeze in seams overnight.
But saltwater is non-negotiable. Even a quick hour-long saltwater paddle in winter needs at least a basic warm-water rinse, especially on the drive mechanism and any metal hardware. Salt doesn't take holidays, and cold weather actually accelerates certain types of corrosion because freezing/thawing cycles stress protective coatings.
Similarly, you can't skip drying in freezing temps. In summer, air-drying is fine. In winter, you need to actively dry your kayak sections or accept that ice will form in places you don't want it. Those few minutes with towels prevent hours of frustration later.
The coupling points between sections deserve attention after every cold-weather trip, saltwater or not. Even condensation can freeze in these seams, and frozen connections are stubborn connections. A quick wipe and dry takes 30 seconds per coupling and prevents 90% of winter storage problems.
Long-Term Storage in Cold Climates
If you're putting the kayak away for weeks or months in a cold climate, the winter rinse becomes even more critical. This is your last chance to remove salt before it sits on components for an extended period, potentially eating through protective coatings while you're not watching.
Do the full warm-water treatment—both sections, drive mechanism completely disassembled and rinsed, every piece of hardware removed and cleaned. Then go a step further: spray all metal components with a heavy-duty corrosion inhibitor or marine-grade lubricant. Remove the battery from any electronics and store it in a climate-controlled space.
Store the sections separately in a space that stays above freezing if possible. If you only have an unheated garage or shed, that's workable—just make absolutely certain everything is bone-dry before storage. Even a small amount of trapped moisture can freeze and thaw repeatedly through winter, causing expansion damage to plastic components or connection hardware.
Some kayak anglers wrap their sections in old moving blankets or furniture pads for winter storage. This isn't about warmth—it's about preventing dust buildup and accidental impacts from other stored gear. Just make sure everything is completely dry before wrapping, or you're creating a moisture trap.
Making Cold-Weather Maintenance Actually Happen
The biggest challenge with winter kayak maintenance isn't the technical difficulty—it's the mental barrier of doing anything at all when you're already cold and tired from a day on the water. The best system is one you'll actually use, which means making it as painless as possible.
Keep a dedicated winter rinse kit in your garage: two 5-gallon buckets, a sponge, dish soap, clean rags, corrosion inhibitor spray, and a tarp. Everything in one spot means no hunting for supplies when your fingers are numb and you just want to get inside.
If you have a utility sink with hot water in your garage, you've already won. If not, consider a small electric water heater or even just planning your trips so you get home while it's still warm enough to use tap water comfortably. The 15-minute rinse routine is infinitely more tolerable at 2 PM than at 7 PM after the sun goes down.
The modular advantage really shines here. You can break down and rough-rinse outside, then do the detail work inside while watching TV or catching up on fishing reports. Try that with a traditional 10-foot rigid kayak. The ability to work in sections, in heated space, transforms winter maintenance from a dreaded chore into a manageable routine.
Your kayak is the tool that gets you on the water during those magical winter days when the crowds stay home and the fish are aggressive. Taking care of it in cold weather isn't just maintenance—it's ensuring you're ready for the next cold snap bite without discovering corroded hardware or frozen seams on launch morning.


